(Before Photo with Drawer Handles Already removed)
My daughter needed a makeup vanity and I needed her to have one because our single bathroom just was not allowing both of us girls to operate functionally in our home. I was also sick and tired of Mr Fix It griping so much about her messes but as a fellow girl, I could relate having grown up in a series of single-bathroom homes as just 1 of 5 females. My poor Dad was the only boy in our house! He comes from a family of 3 boys and 1 girl and 2 if you count his mother, but he also had a large home with more than one bathroom since his dad was a doctor and his mom was a neat freak who had one of those fancy "master bathrooms".
This piece had wooden drawer handles glued on that we removed before deciding if I would move forward on this project. They popped right off with a little effort!
I am not sure what this piece had been through, but it had multiple layers of paint on it, one of which seemed to be an oil-based blue color that I finally had to resort to sanding the remnants off near the end and after too-numerous-to-count applications of paint stripper. It sure did have an interesting paint job on it by the time I picked it up!
(Needs some repair on the bottom left center support)
I feel in love with the unique edge of the left side of the piece because it made the piece feel lighter allowing me to envision it in her room; the pull out writing surface, which I figured would be perfect for my daughter's items such as her curling irons to rest upon as she got ready; and the tiny little heyholes on each drawer. Her room was a grayish color and accented in all blingy things with mirrored or crystal-type accents and the color white. I also needed to have it tie into the twin-sized headboard I had already redone for her.
Now that I had chosen a piece to become her makeup vanity, I needed to find a seating situation that would work for her. I remembered the antique piano stool I had bought some time back that I had been avoiding because it was stinky, very heavy, and I worried it could scratch up our newly refinished hardwood floors! Mr Fix it had a rubber pad protection idea so we went for it!
(All original from 1800s with missing chunk out of circular trim on the right!)
(Rusty, stinky and covered in spider webs)
(These gouges were pretty extensive)
(The original stuffing and red velvet material!)
(Found the source of the stank! Wood chips and straw!)
Any of you who like to collect antique items know exactly what smell I am talking about when I talk about the stink. I wish I could describe it accurately but all I can say with certainty is that it triggers my gag reflex and makes me wretch like nobody's business. Once I removed the deteriorating red velvet material and emptied the smelly wood chips and straw onto the pavement, I had to call in Mr Fix It. It smelled so strongly and badly that I couldn't even pick it up to discard it. He's my hero!
It took a bit of time to remove all of the little round tack nails that held the "cushion" into place because they were flat and I was trying to ensure I didn't cause any damage to the structure during the removal. The decaying velvet material being stuck behind each one helped to enable me to fit a putty knife just under them enough to get a good leveraging start. I just loved admiring each and every one fully aware they had a story that I would never know.
(Ugh, that blue just wouldn't budge!)
I fell in love with the natural wood but unfortunately could not get all of the blue oil-based paint to come off, not even with sanding, so I had to repaint it.
(Sanding stage)
After sanding, I prepped the piece with primer since I was going with a white final coat. I didn't want to risk any pre-staining hidden under the oily blue bleeding through.
I then painted this piece in layers using first an Annie Sloan Duck Egg Blue, then French Linen, and finally Old White and distressed down to the bare wood in spots. It rurned out that top was made with multiple planks that made distressing prettier!
(the top surface also covered in plexiglass)
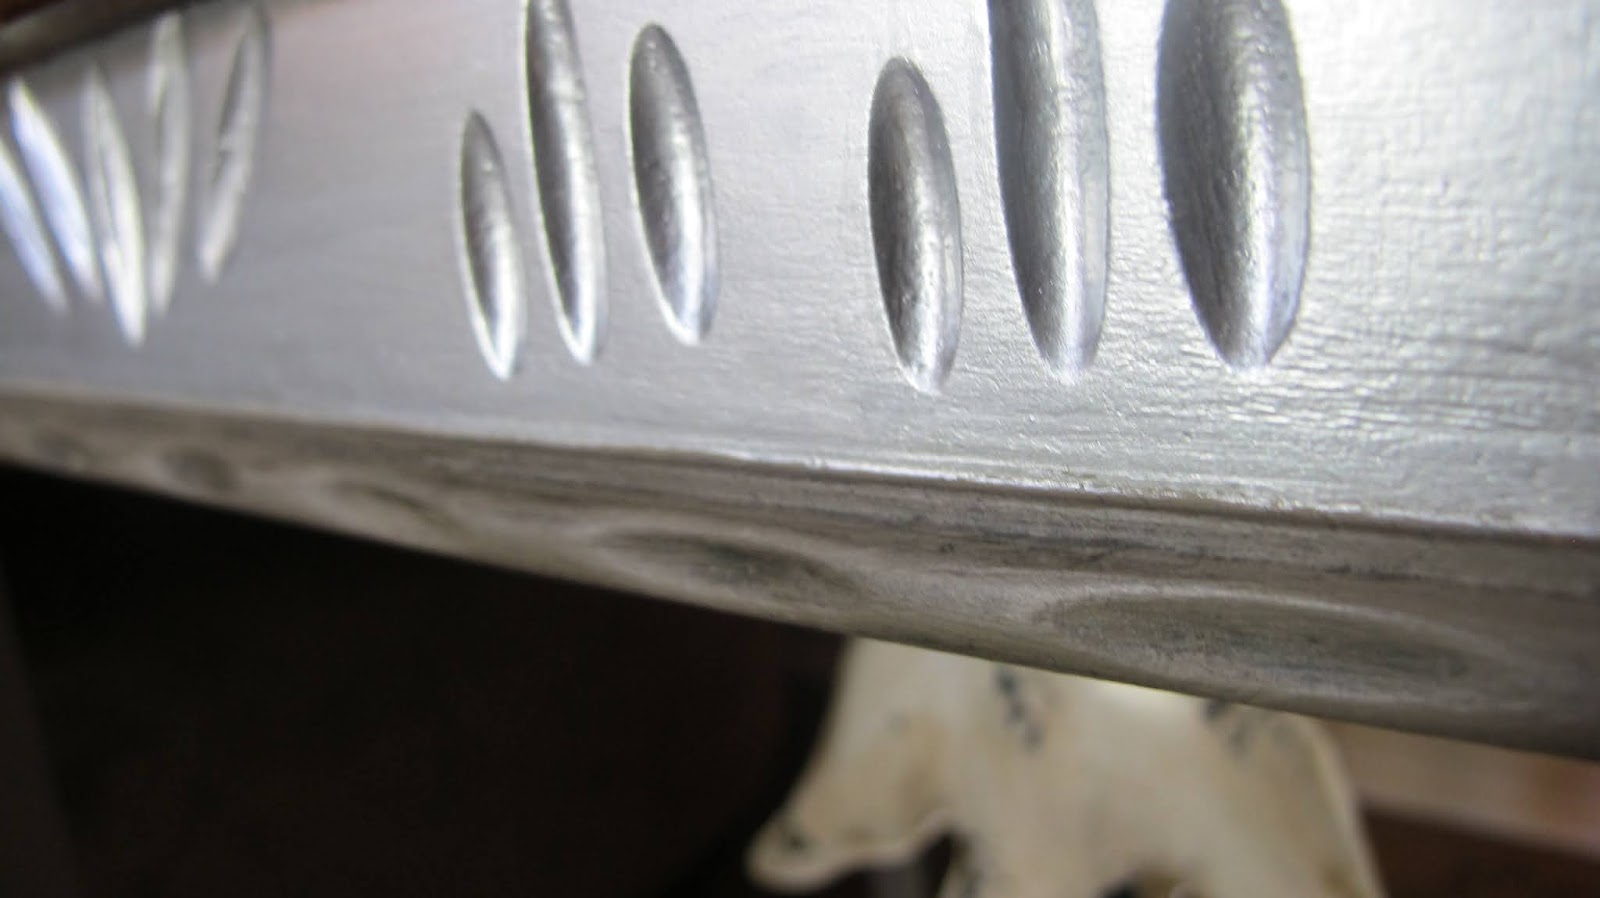
I then covered it in a clear Annie Sloan Wax and painted the decorative legs on the left in a shiny chrome spray paint, which I do not recommend if using furniture wax. If you touch the wax and then the shiny chrome-painted surface, it will dull the finish and leave your fingerprints behind! I then had to clear coat the shiny surface to protect it. Now that the Annie Sloan line carries a pretty shiny wax, that would be the way to go! They didn't have this when I refinished this piece!


Mr Fix it custom made a plexiglass protective topper for me as curling irons and other hair and make-up tools were bound to stain and scratch and my daughter's nickname is Ragamuffin. We knew she could destroy all this hard work in a matter of minutes and we were right. The very next day there was a warp mark from the flat iron she left on. I then showed her the pull out shelf and reminded her it was there. I have been waiting for Mr Fix it to drill some holes in that pull-out shelf to better accommodate the hair tools! I think I will remind him about this again now! Over time there is also nail polish on the plexiglass. She is such a stinker.
For the stool, I used the shiny silver spray paint on he heavy cast iron legs after cleaning and brushing away as much rust as I could and painted the column the same way I painted the vanity after fixing the broken ring on it with some wood filler. I created a new cushion with regular and more comfortable firm foam. I could not sand out the gouges on the ridged edges of the seat base without entirely losing that detail so I embraced it because that sort of damage works so well with Chalk Paint and distressed finishes!
That neat little edge you see in the stool before photo where the flat nails held in the red velvet came in handy for getting creative with a blingy border to top off the stool! I bought some rectangular little tack nails that looked like teeny tiny railroad spikes and nailed them into place. I bought the blingy trim from Joann Fabrics!
(the decorative bling)
Here is the final set with shiny new chrome keyholes and blingy knobs!
Now that my daughter has grown into being a total make-up girl, buying it all willy nilly style, there is a huge make-up mirror on top and drawers full of make-up!